Well, my squiggly nature took over again and I was off to setting up FreeNX over SSH. I started off by installing the freenx server for Arch Linux by following this post and downloading the compiled arch package from here. The install went smoothly but when I tried connecting I kept getting the following error:
After spending quite some time researching and trying several different ways I finally figured out what I was doing wrong. Basically you have to generate a new key pair using `ssh-keygen -d` and tell it to save the key at /usr/NX/home/nx/id_das with no passphrase. Afterwards you save id_dsa.pub to /usr/NX/home/nx/.ssh/authorized_keys2.
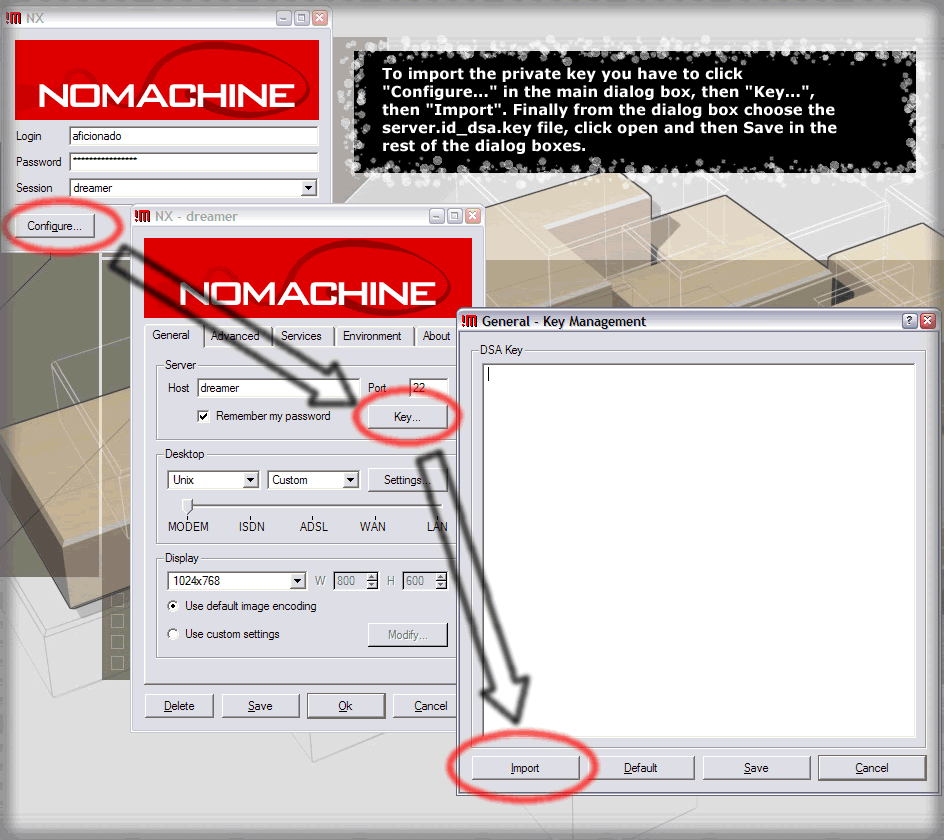
Once you do this then you should copy the id_dsa file as server.id_dsa.key to the client’s share/keys directory; for default Windows client installation this was c:\Program Files\NX Client for Windows\share\keys\server.id_dsa.key. Now comes the most important part, make sure that you import this key into the connection that you make, see the screenshot below for more information.
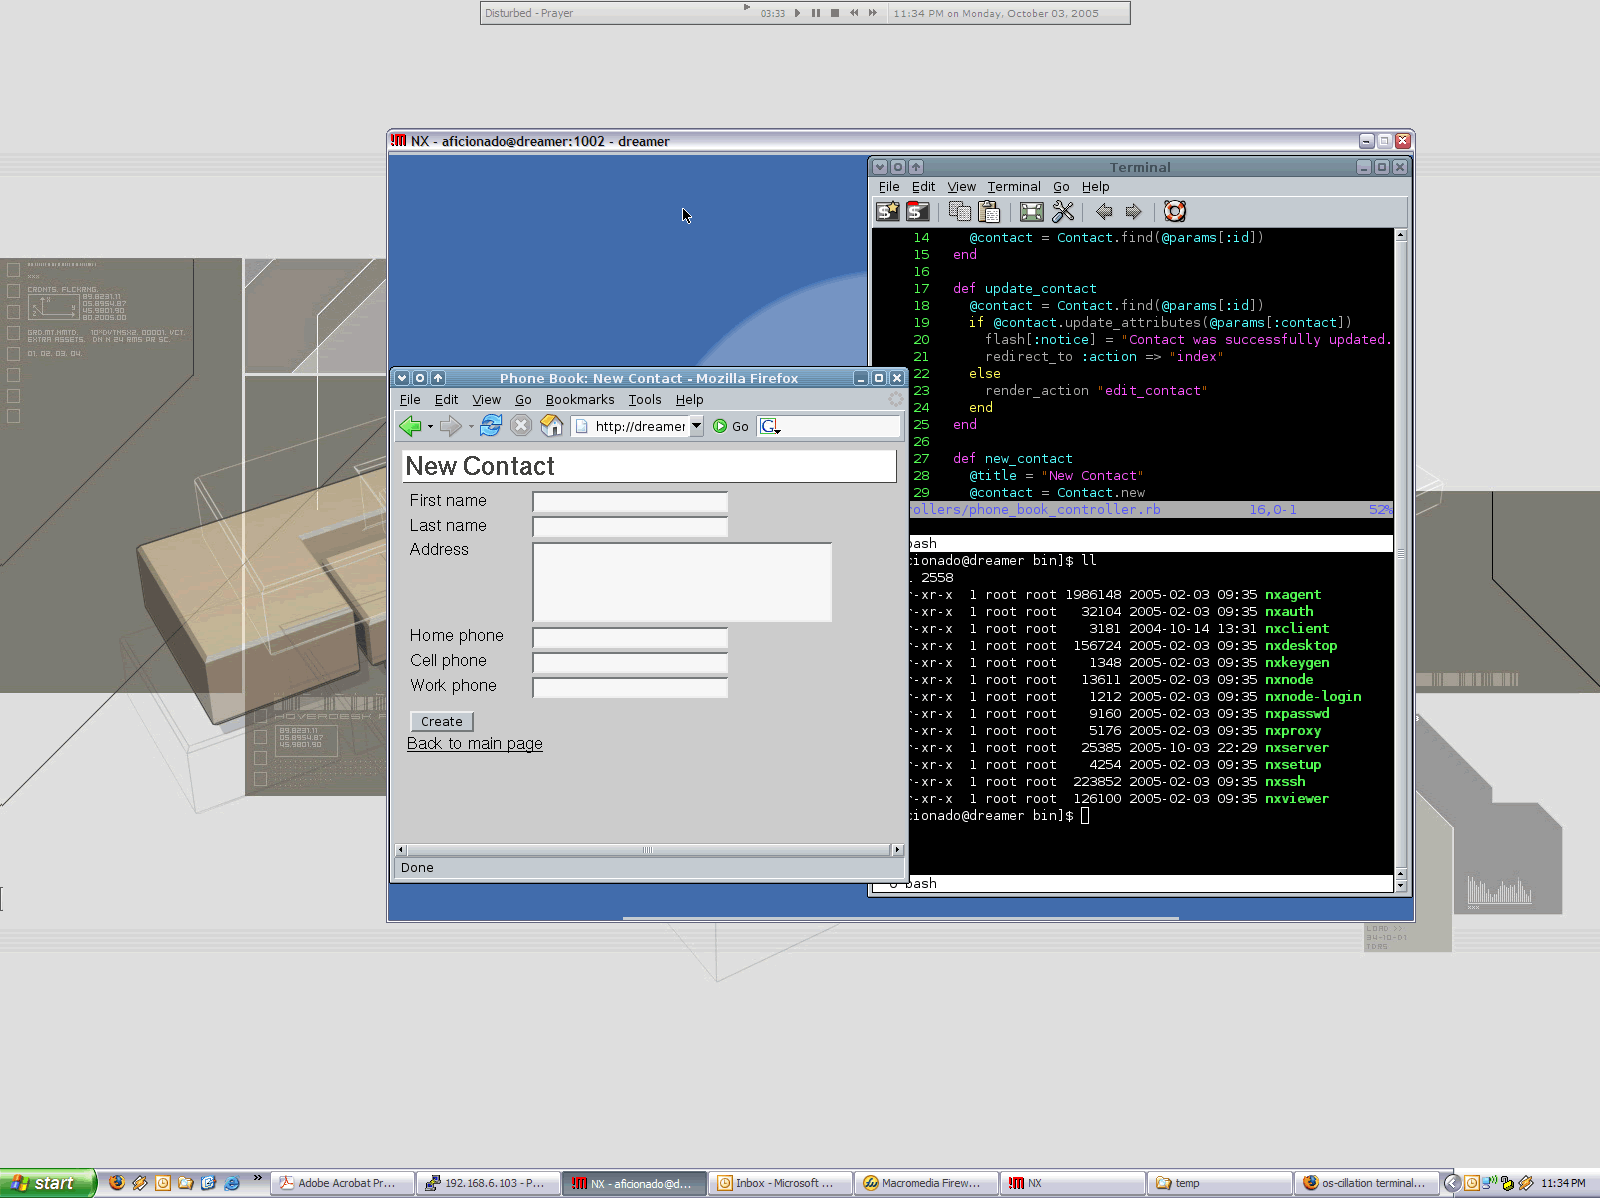
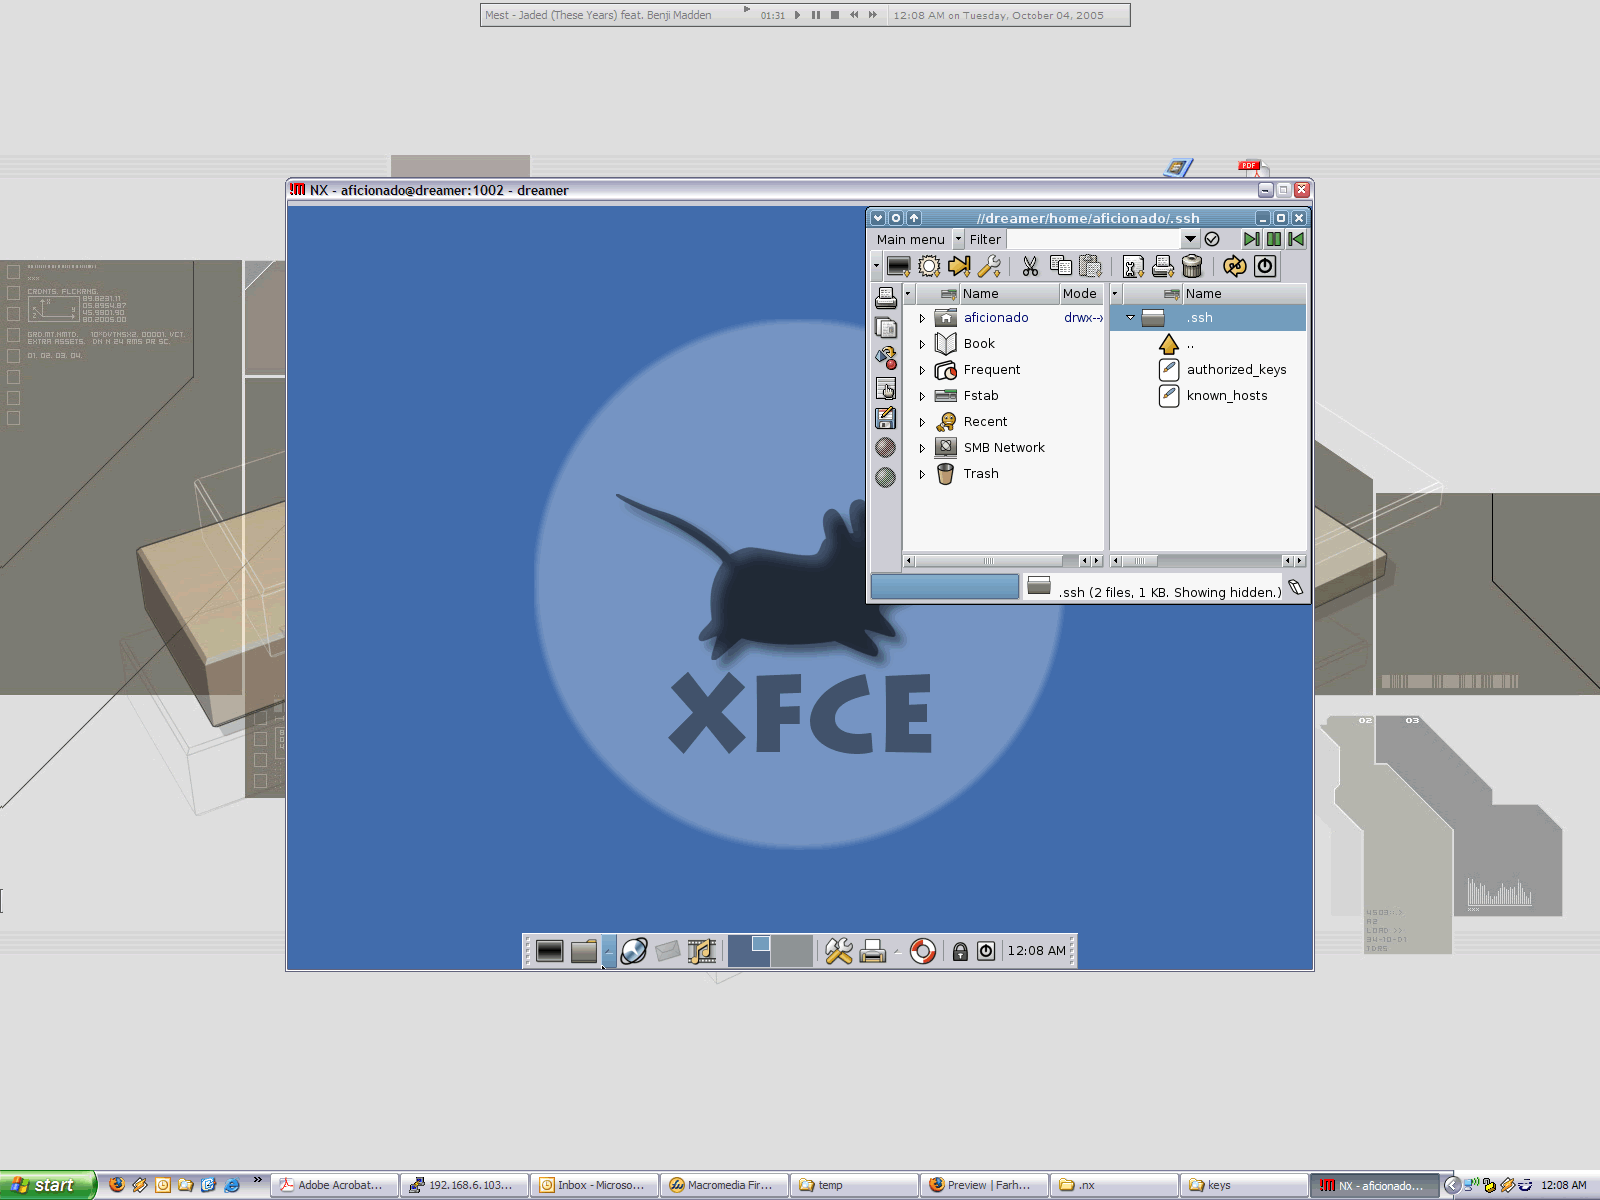
So finally after lots of hard work I got freenx to run over SSH on windows. Below are some screenshots for your pleasures 🙂 Sorry for the humougous size 🙂